How do I organize papers and take notes
It is not uncommon to see a pile of papers, some with a few highlights or notes, on the desk of a graduate student. As a graduate student, we need to read, especially research papers from top conferences or top journals. If you print out every paper you want to read and take note on it, your papers will quickly occupy your desk, your shelf, and another shelf, until someday end up in the recycle bin.
Assume you have a computer and an iPad. I will share with you how I organze the papers and take notes.
Step 0: Preparation
- Create a Google Drive Account and creat a folder to hold papars. (Whenever you find a paper that you want to read, throw it to the folder.)
- Install Adobe Reader and Google Drive on your iPad.
Step 1: Read
When you have 5 minuites at the bus station and want to quickly read a paper, open Adobe Read on your iPad. You can select Google Drive as the location of your paper:
Then, go to the fold you created to hold all your papers and select the paper you want to read.
Step 2: Take Notes
While reading the paper on your local device (i.e., iPad), you can take notes, highlight the important contents, add annotation, etc..
After finishing, you can simply click “Done” and “Back”, all your notes and annotations will be automatically saved.
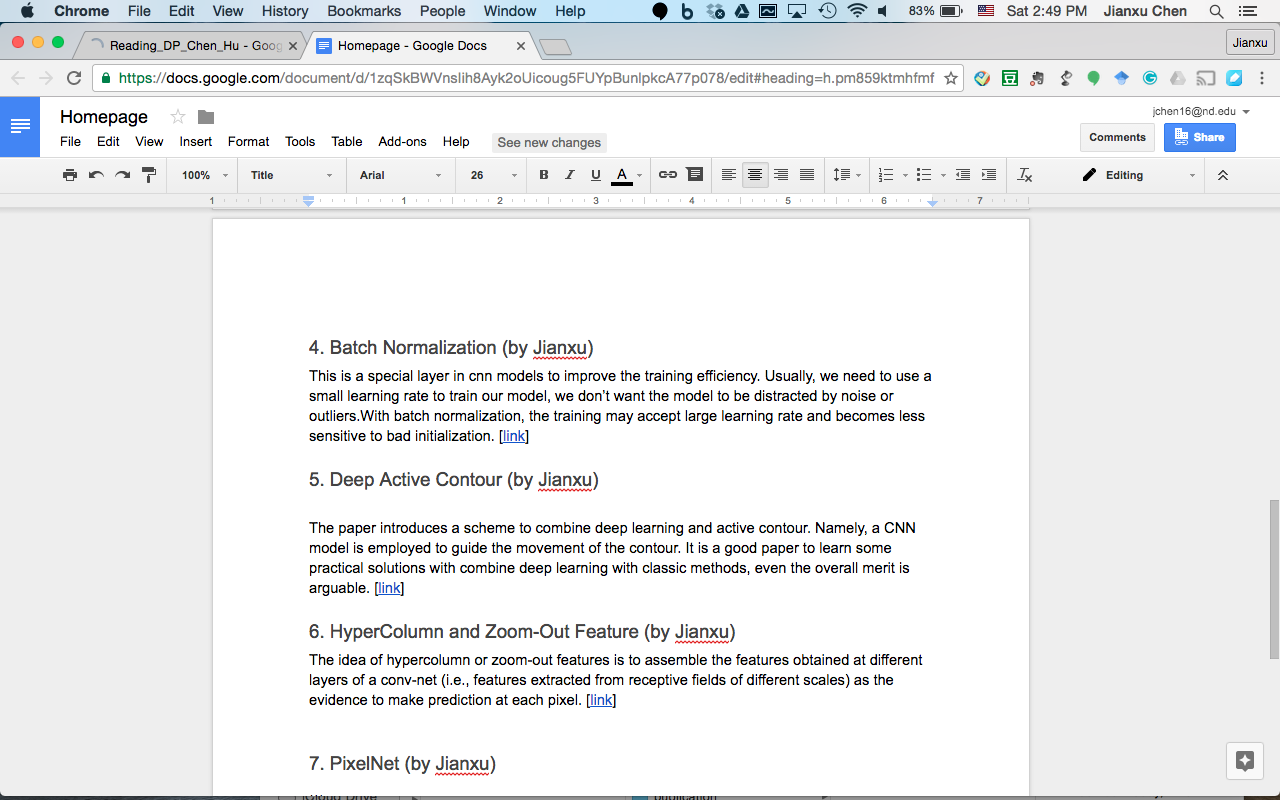
Step 3: Write a summary
One key reason that I choose Google Drive as the cloud space is that Google Drive is much more than a storage space. After reading, I like to write a brief summary of the paper using Google Doc. Then, you can have a quick index of your readings and notes.

All in all, I feel that Google Drive + Adobe Reader on iPad is a very productive way to read papers, take notes, and keep organized. Moreover, you may share your Google Drive folder within others to have a reading group.